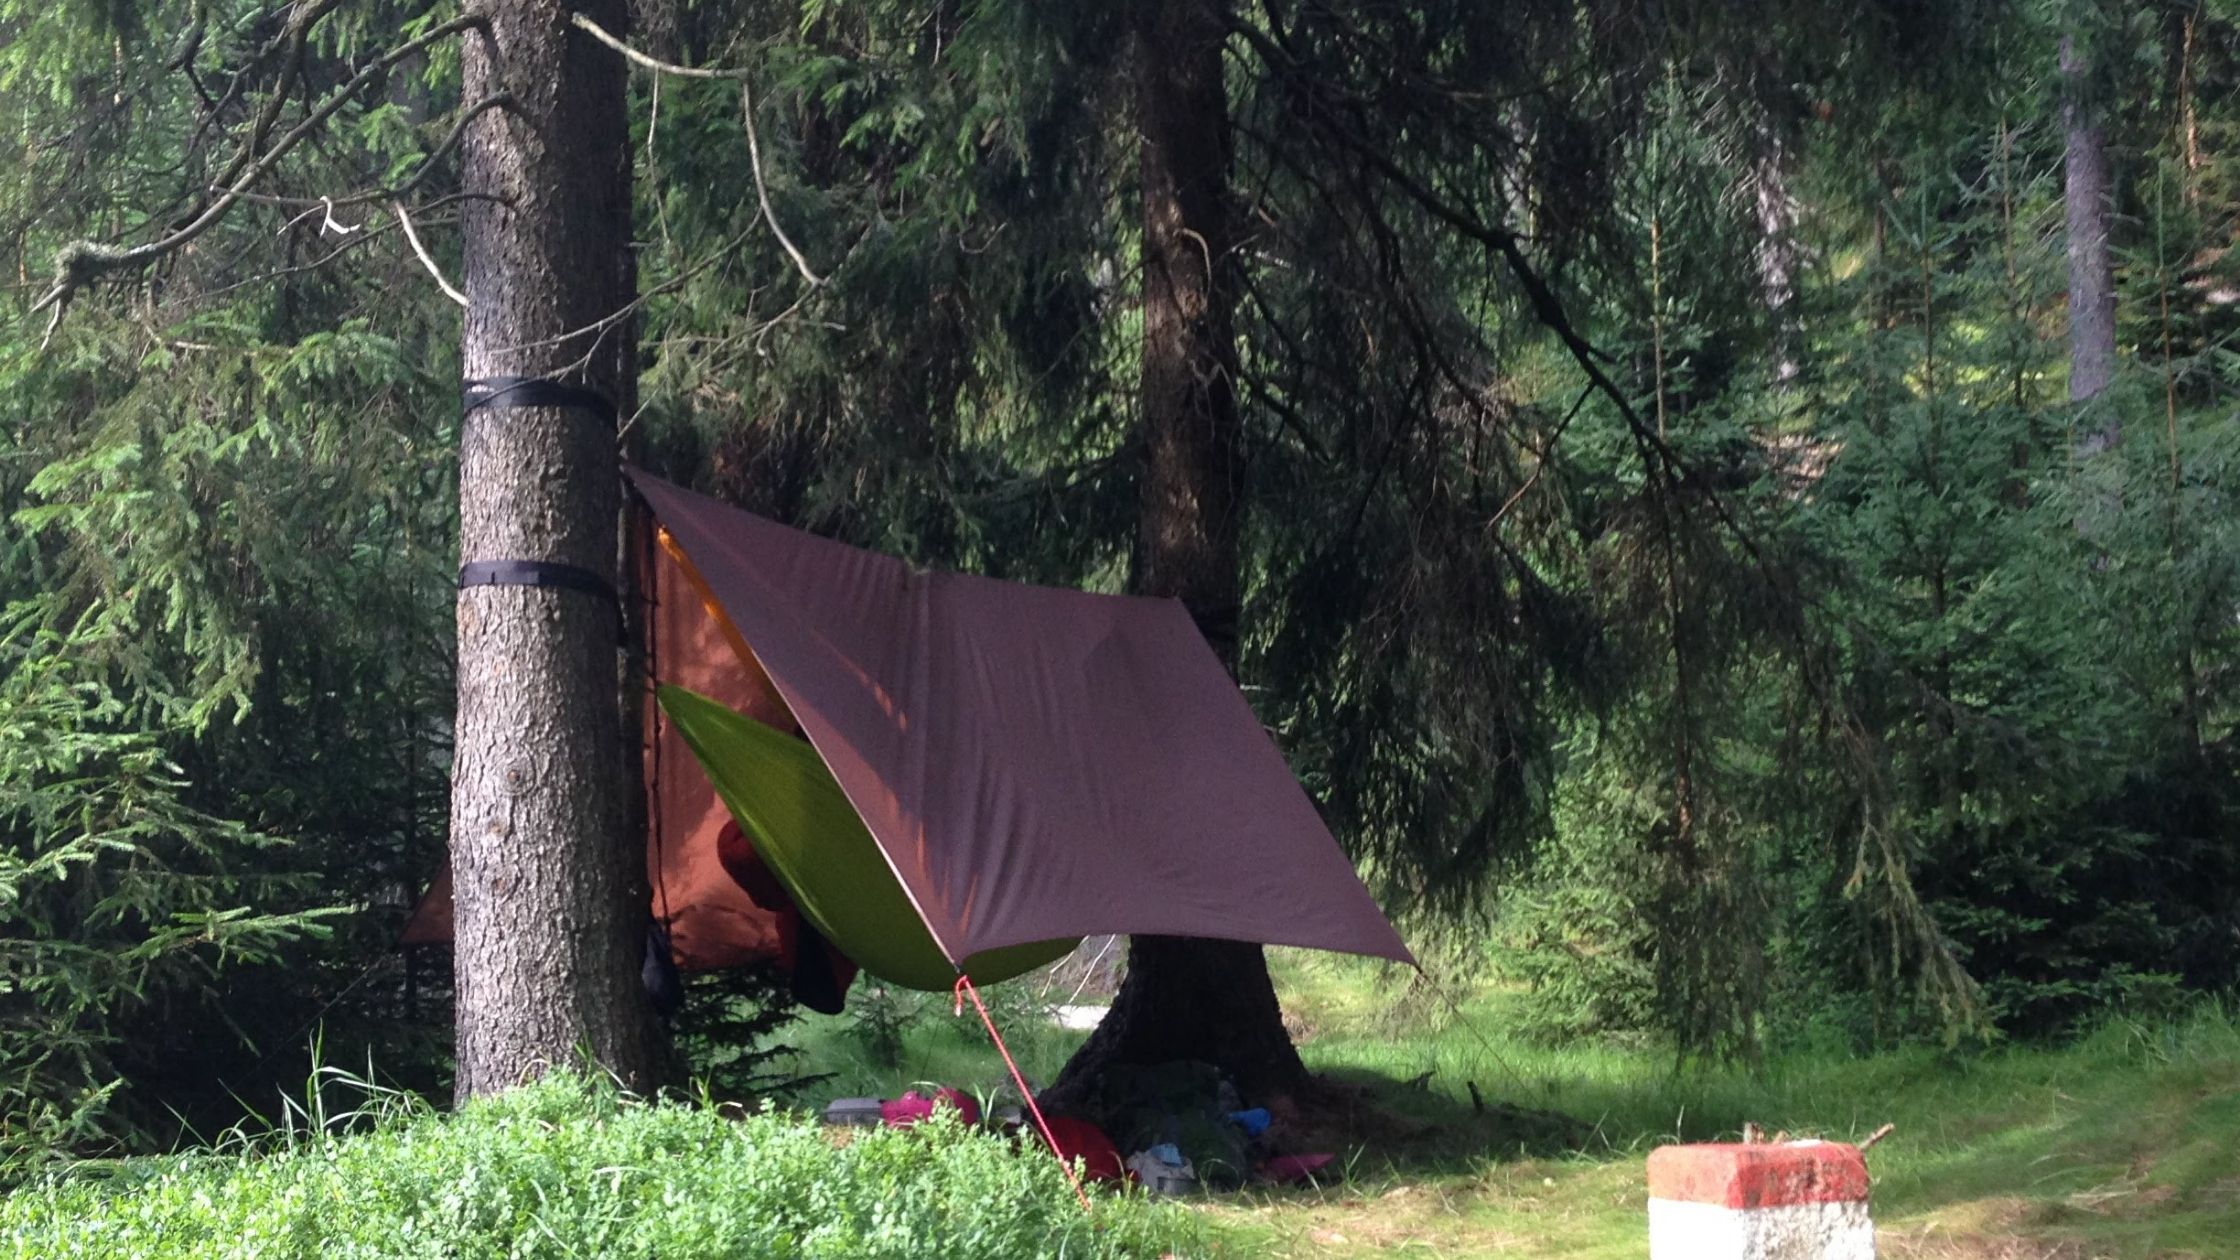
How to Sew a Tarp - DIY
The best part? They’re surprisingly easy to make yourself! Below, we’ll show you step by step how to sew your very own perfect tarp.
Choosing the Material
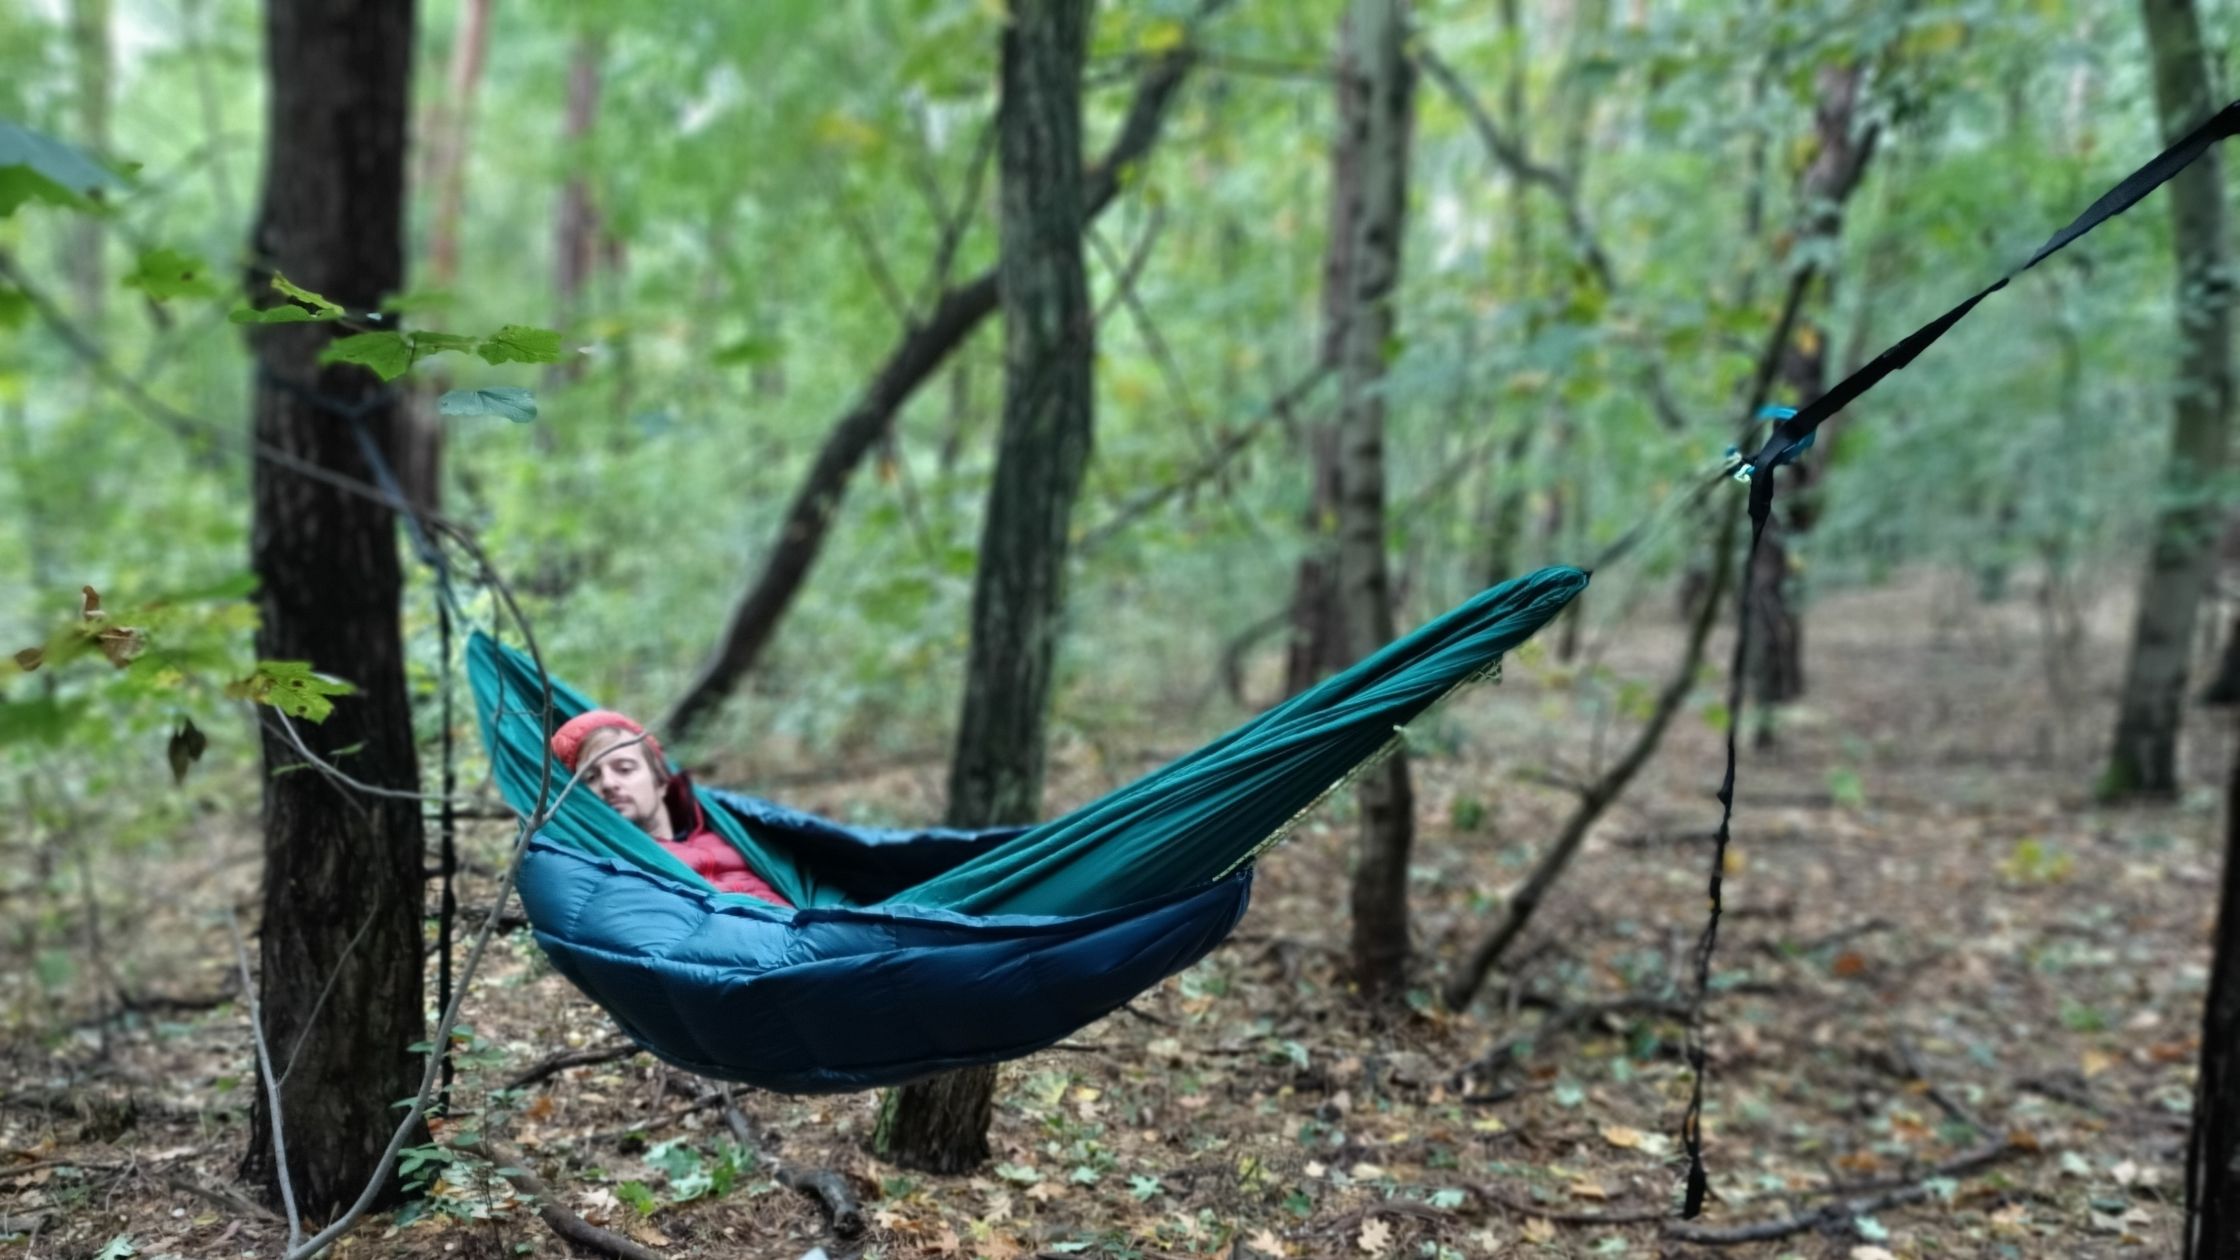
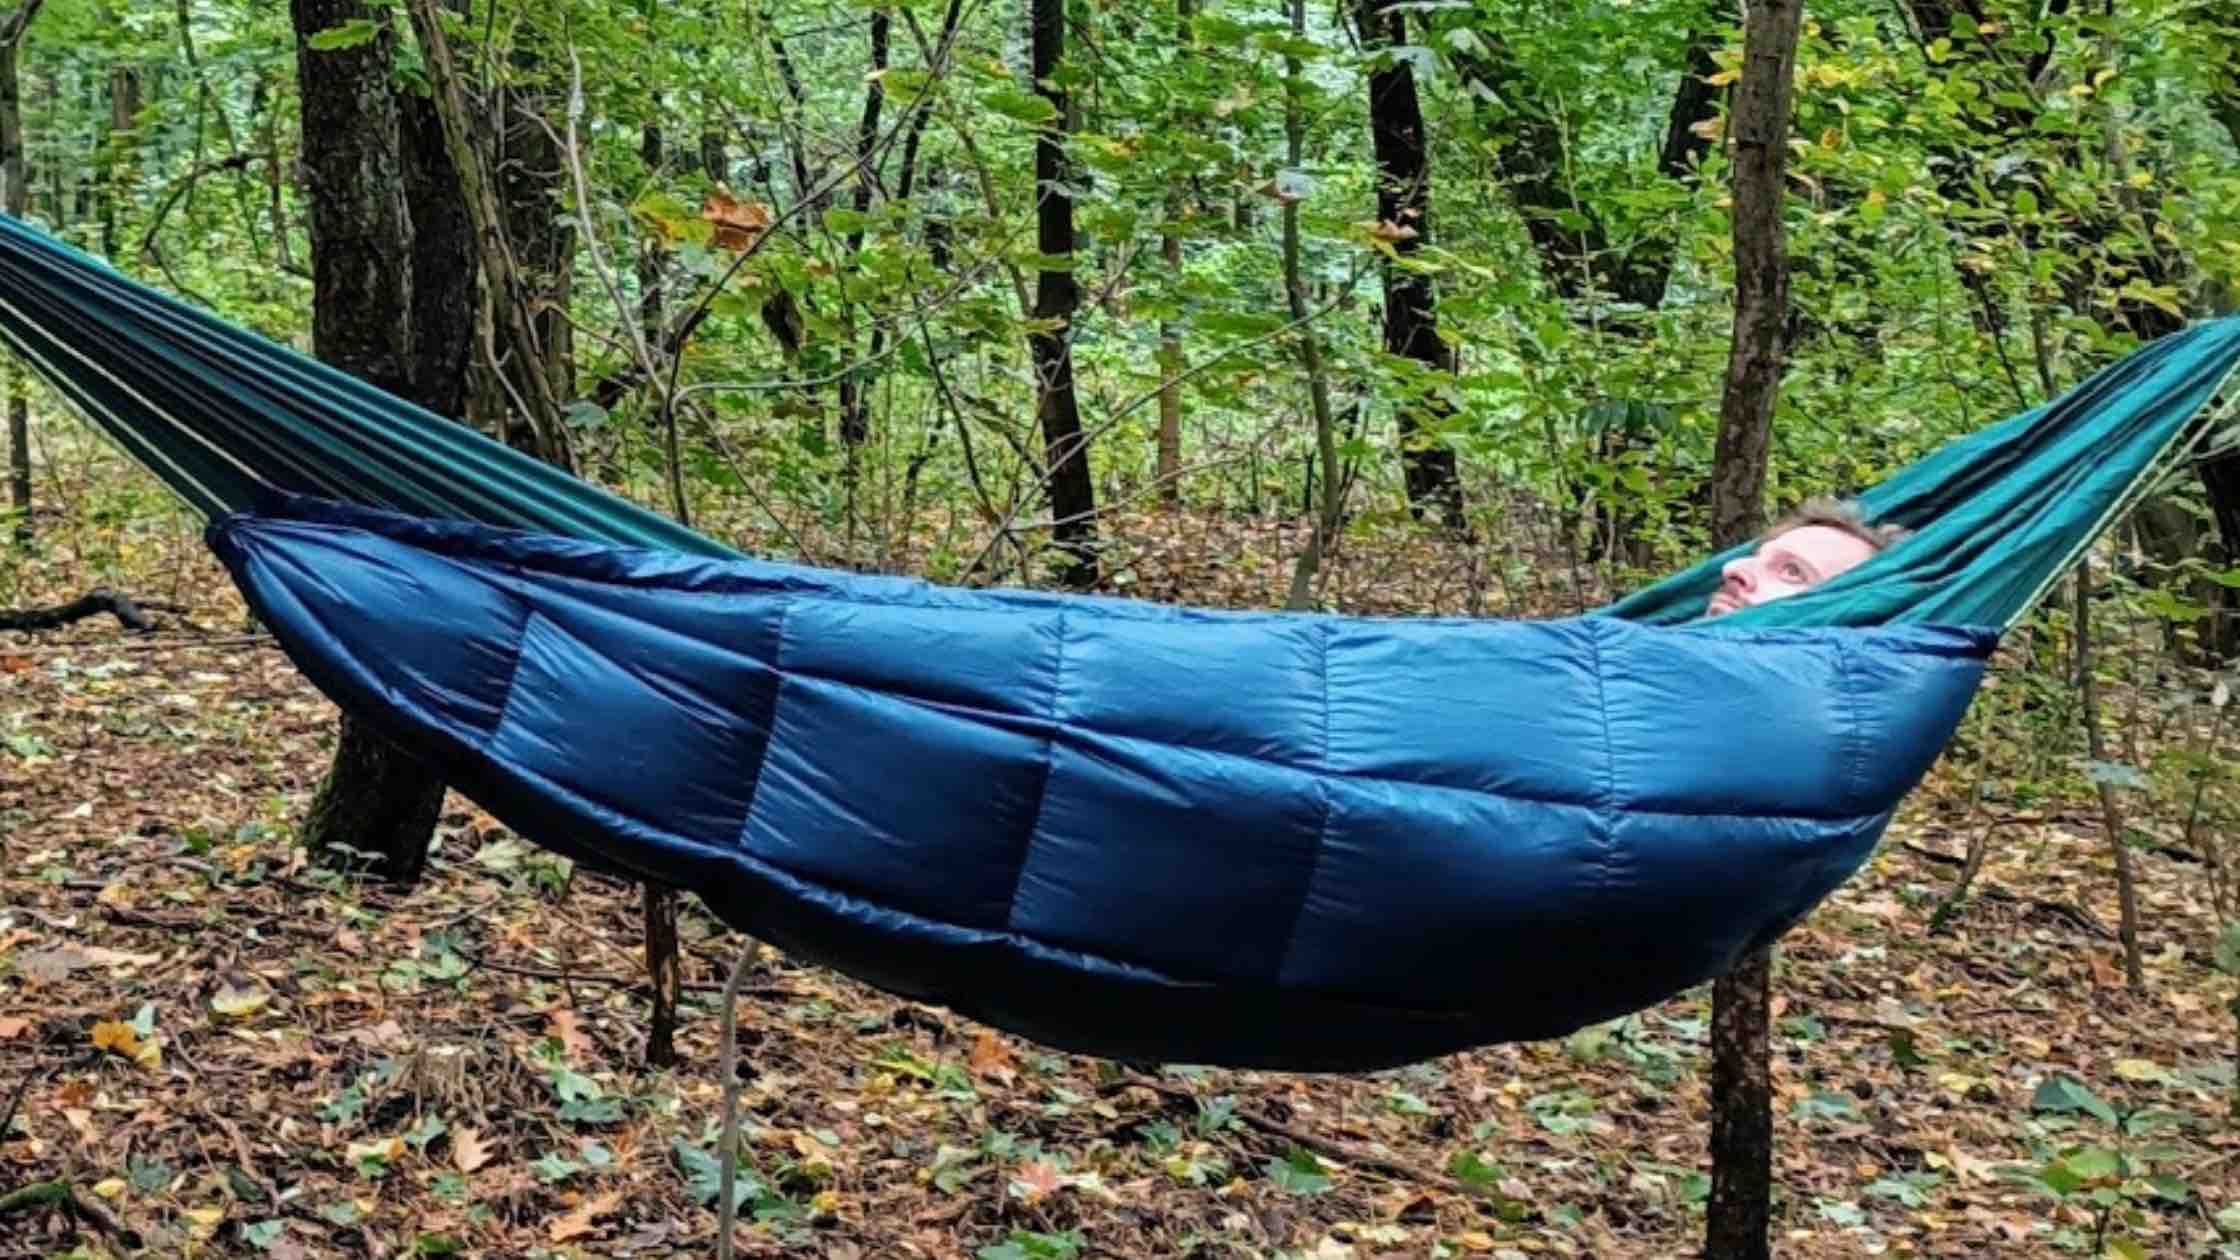
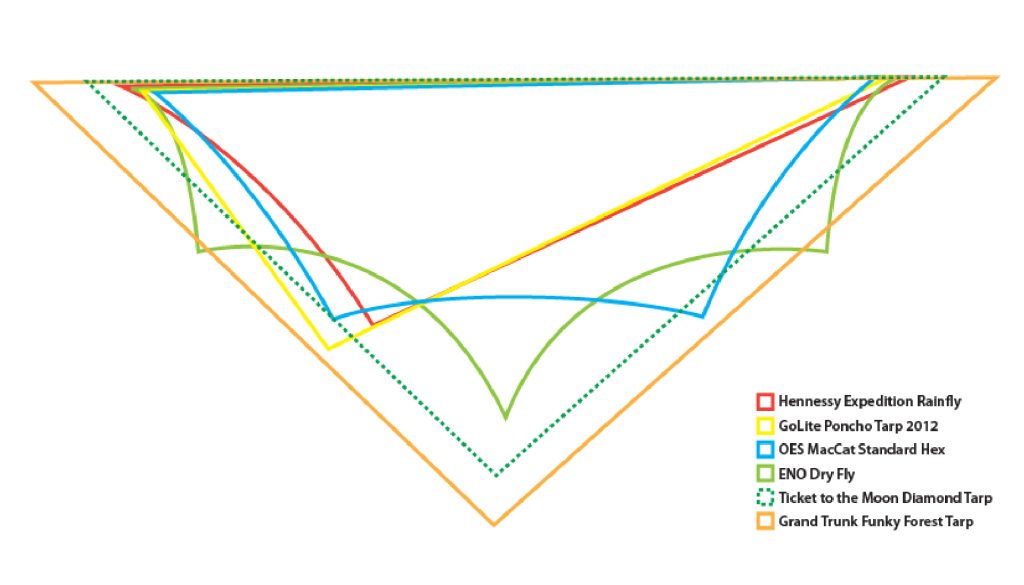
To begin, select a design and material according to your needs. On the market, you will find a wide range of shapes, colors, and materials from which they are made. Below, we present various tarp designs.
Materials that are tear-resistant and waterproof work best. We recommend 20D ripstop silpoly in the color “bison”. The fabric is coated with silicone and PU, making it able to withstand even the harshest weather conditions (suitable for altitudes above 3000 m / 9,800 ft). Smooth 15D silpoly and strong silnylon are also excellent choices for tarps. You can find more tips on choosing the right tarp material in our dedicated article on the subject.
Required Materials:
Additional tools:
- 6 m² of Silpoly + PU or Silnylon, from 47 g/m² to 35 g/m² (your choice) If you’re unsure which fabric to choose for your tarp, check out our article.
- 0.2 m × 1.5 m 300D Ripstop Polyester (for reinforcing attachment points)
- If you choose Ripstop Silpoly PU, seam-sealing tape will be useful.
- If you choose 20D Silnylon, silicone adhesive will be useful for sealing.
- 1 m of webbing (20 mm) – for making attachment points for cords
- 1 × thread matching the color of your fabric
- 10 m of cord, 5 mm thick
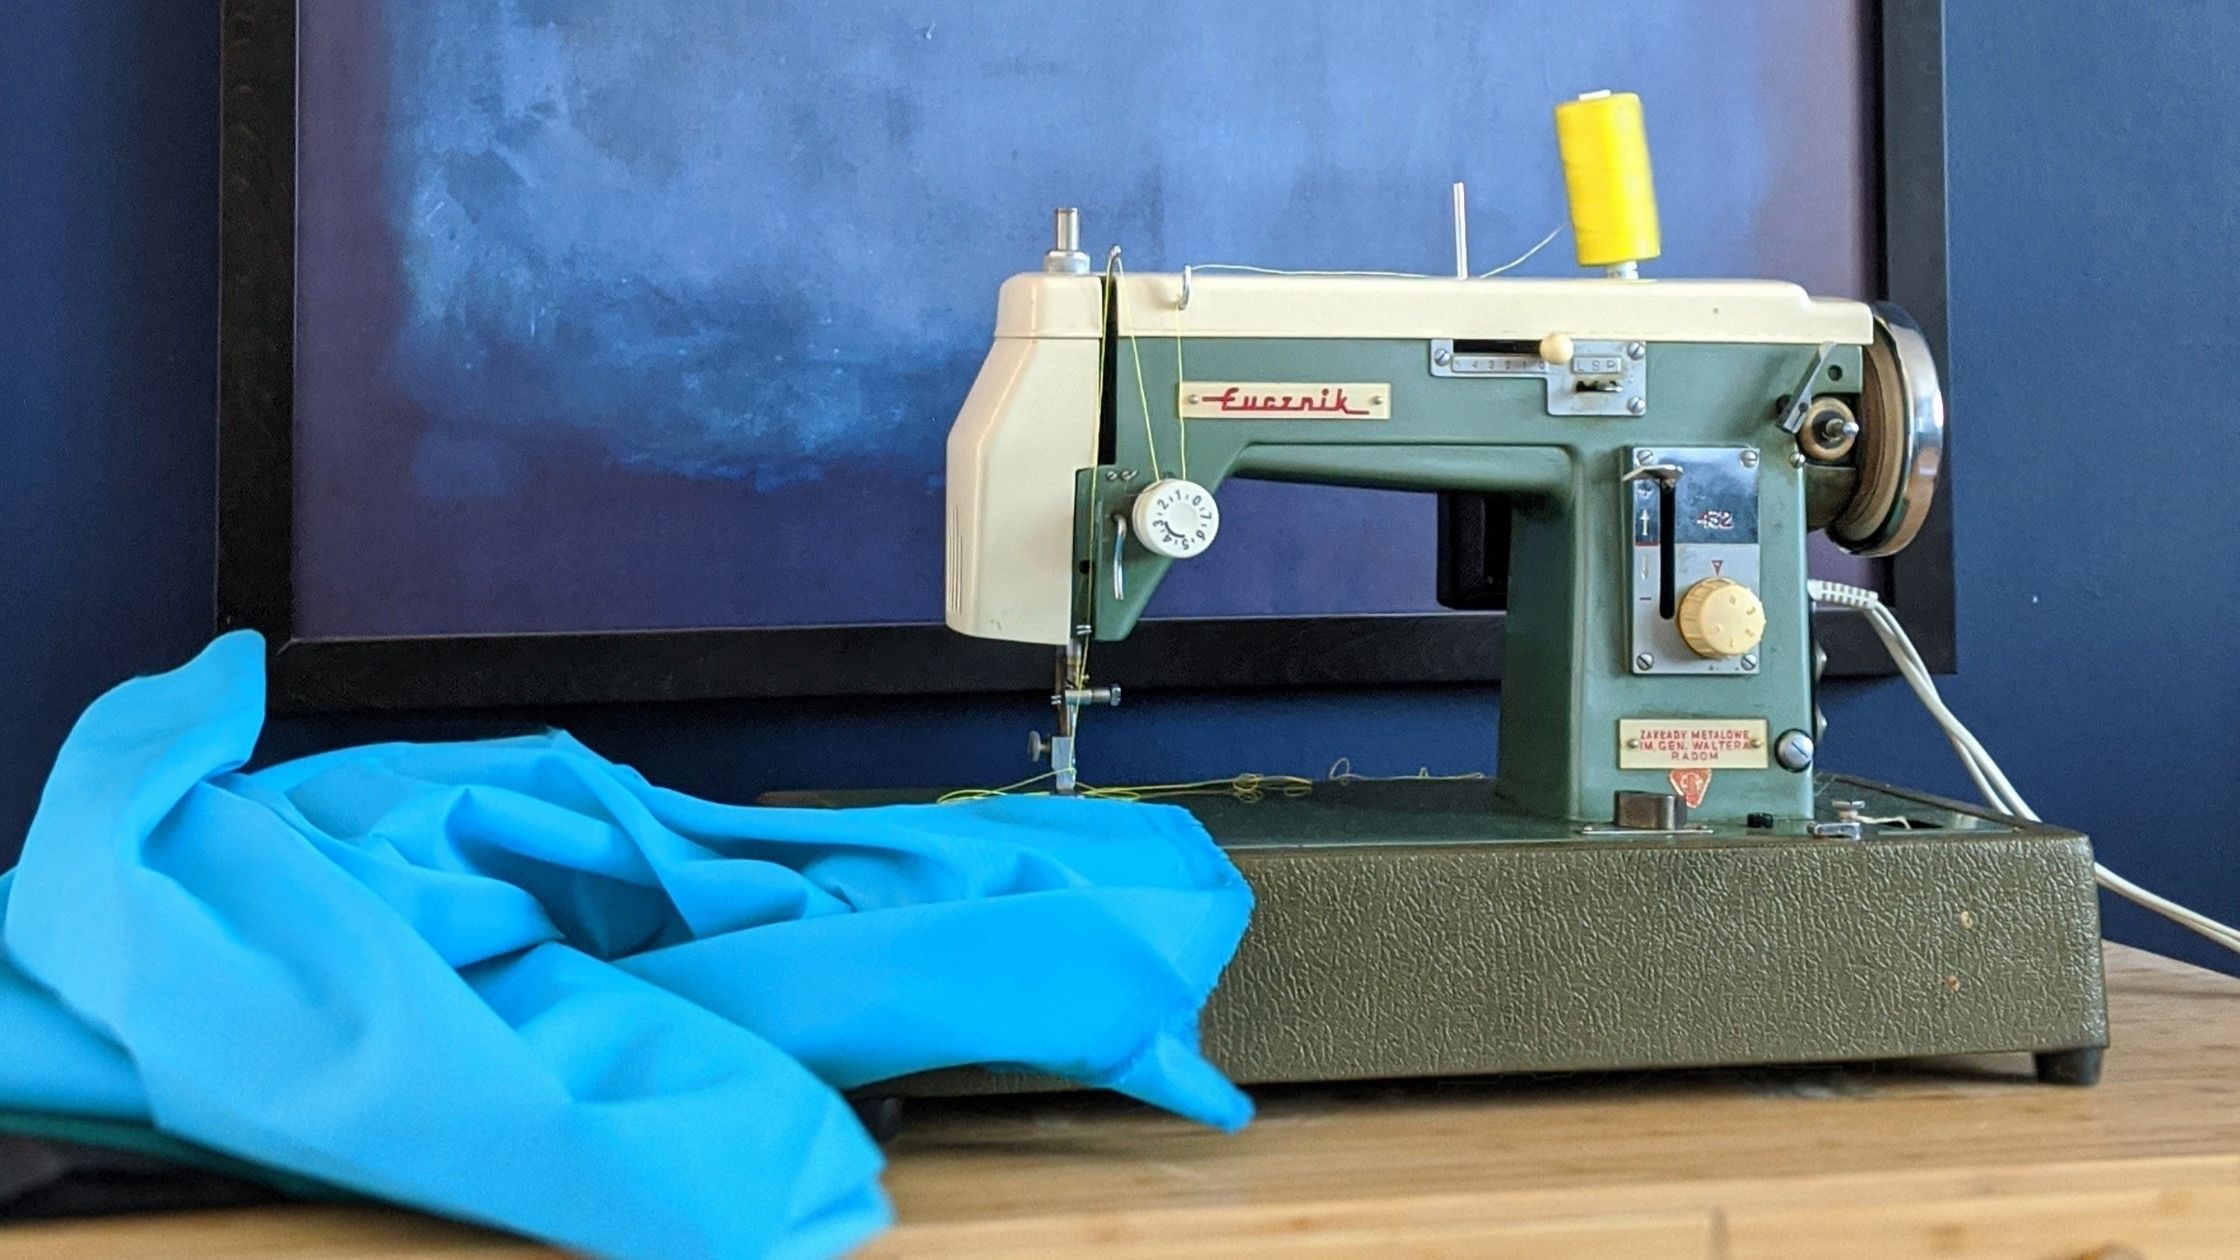
- Sewing machine
- Scissors
- Measuring tape
- DIY TARP kit – available in our store, click here
Step 1 – Reinforcement components
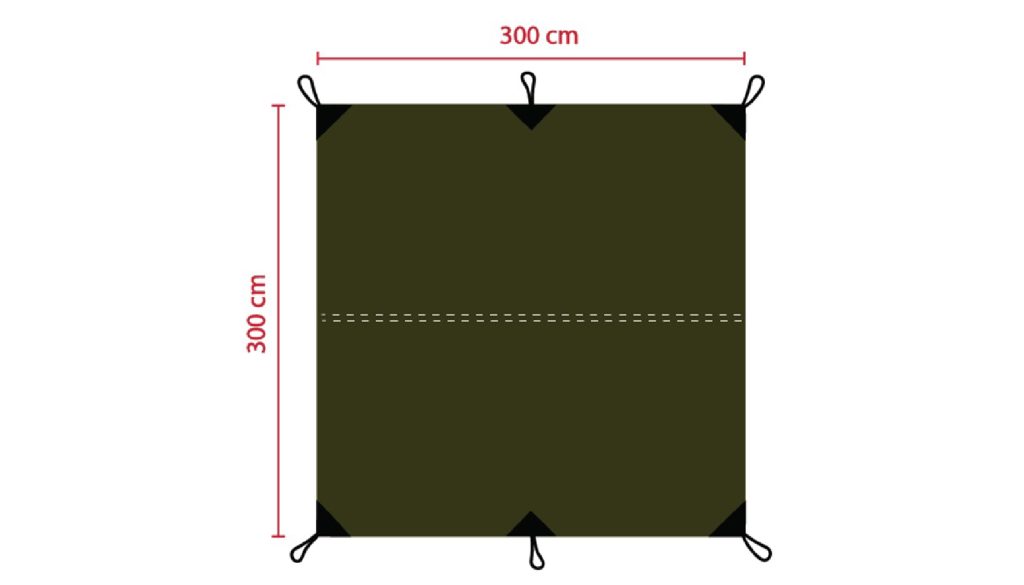
Divide the 6 m of fabric into two equal strips of 3 m each. From the canvas fabric, cut out reinforcement triangles. The number can be adjusted according to the planned attachment points. Remember to cut them slightly larger to leave room for hemming the edges. In my case, I made 6 triangles with a base of 12 cm and a height of 7 cm.
We hem the four triangles at the base. The rest will be hemmed later together with the edges of the fabric. Similarly, I hem the sides of the two middle triangles, and the base is hemmed later along with the entire tarp. We fold the hem twice and sew it with a straight stitch.
Step 2 – Hemming the edges
It’s time to hem all the edges of the tarp while simultaneously sewing the sides of the triangle. It’s best to use a special hemming foot to avoid struggling with the fabric constantly slipping out.
Step 3 – Attachment points
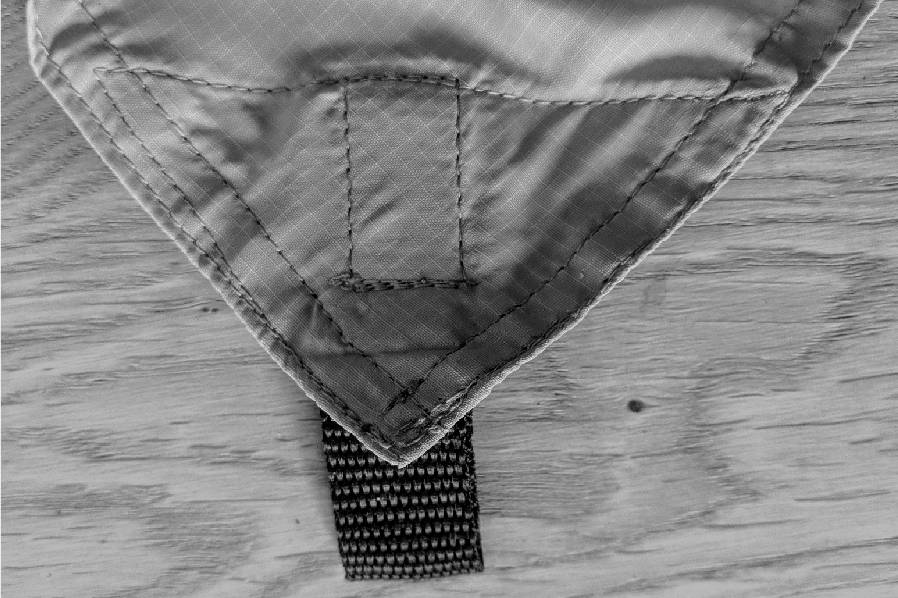
We add straps, folding them so that one end is slightly longer. Insert the prepared loop with the longer end under the fabric and sew it, forming a box as shown in the image below.
Step 4 – Assembling the elements into a whole
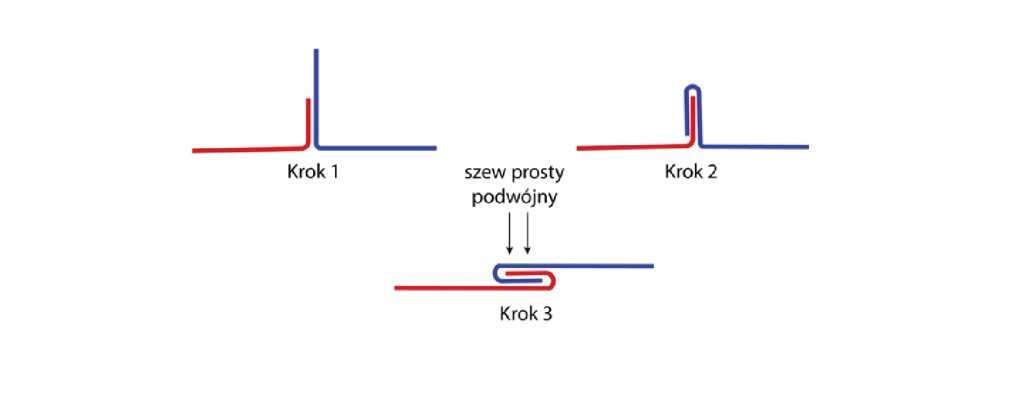
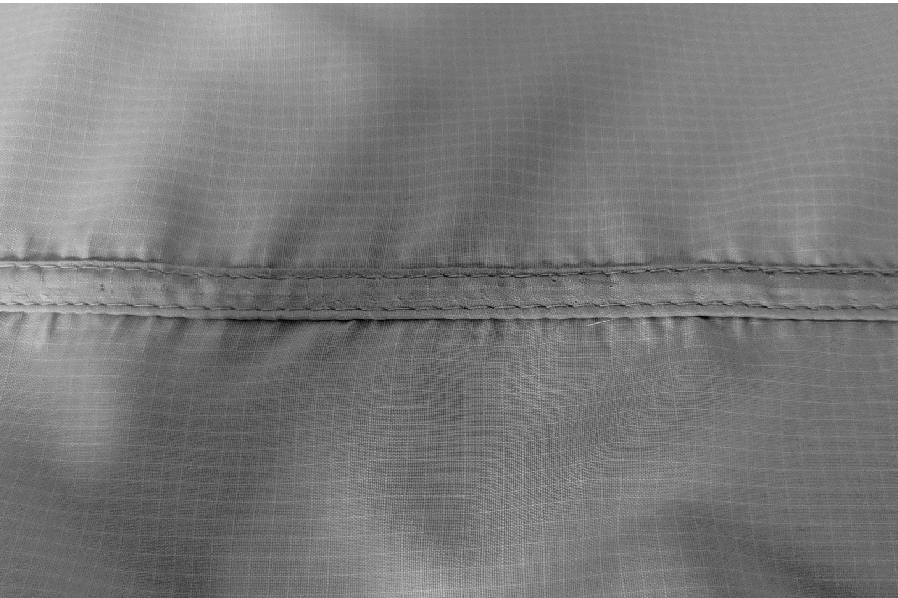
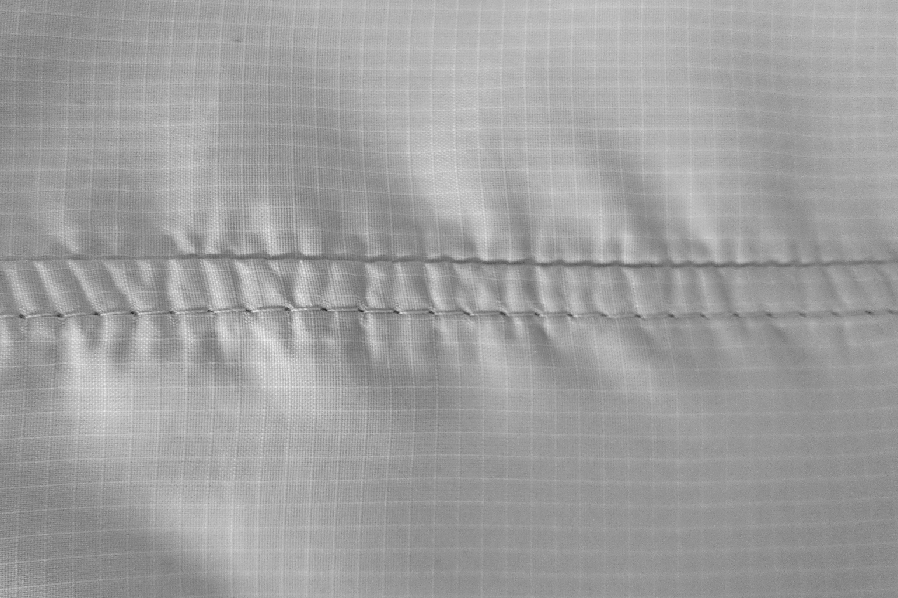
To make a flat seam, fold the edge of one tarp piece over the edge of the other by about 1 cm (Step 2) and pin it or press it to make sewing easier (Step 3). Sew with a double straight stitch (see illustration and photo below). To seal the seams, we recommend using nylon tape, which is available on our website.
Appearance of the seam from both sides.
Step 5 – Ropes, trees, and rocks
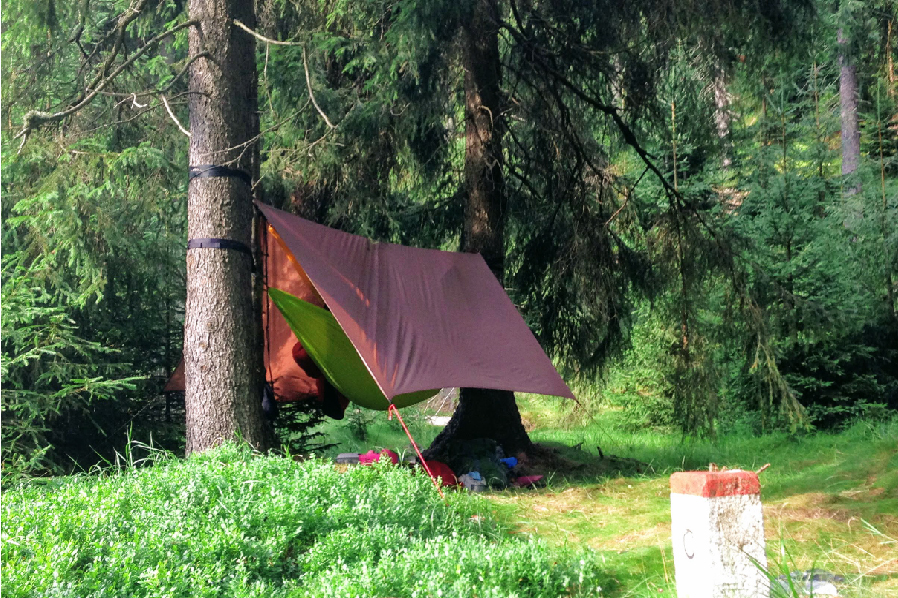
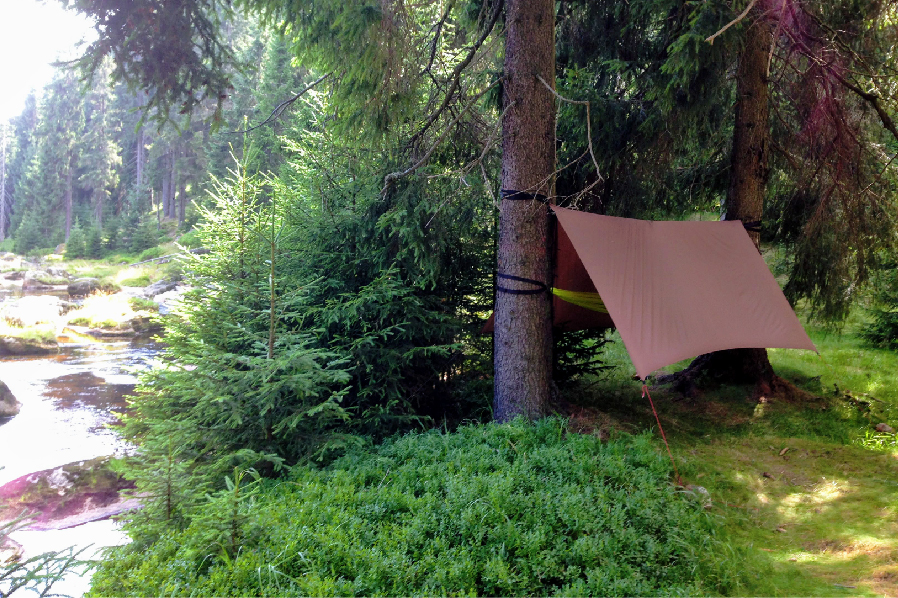
Now all that’s left is to choose the ropes and, if needed, stakes. I used a 3 mm rope and natural anchor points like trees and rocks.
Done! Wishing you peaceful nights under the open sky 🙂